How to create a driving package
Updated 22 Jul 20262 min reading
A driving package combines a course into one total price. As a driving school owner or driving instructor with permission to manage packages, you can create one for the selected driving school.
How to do it
1. Open the driving school's packages
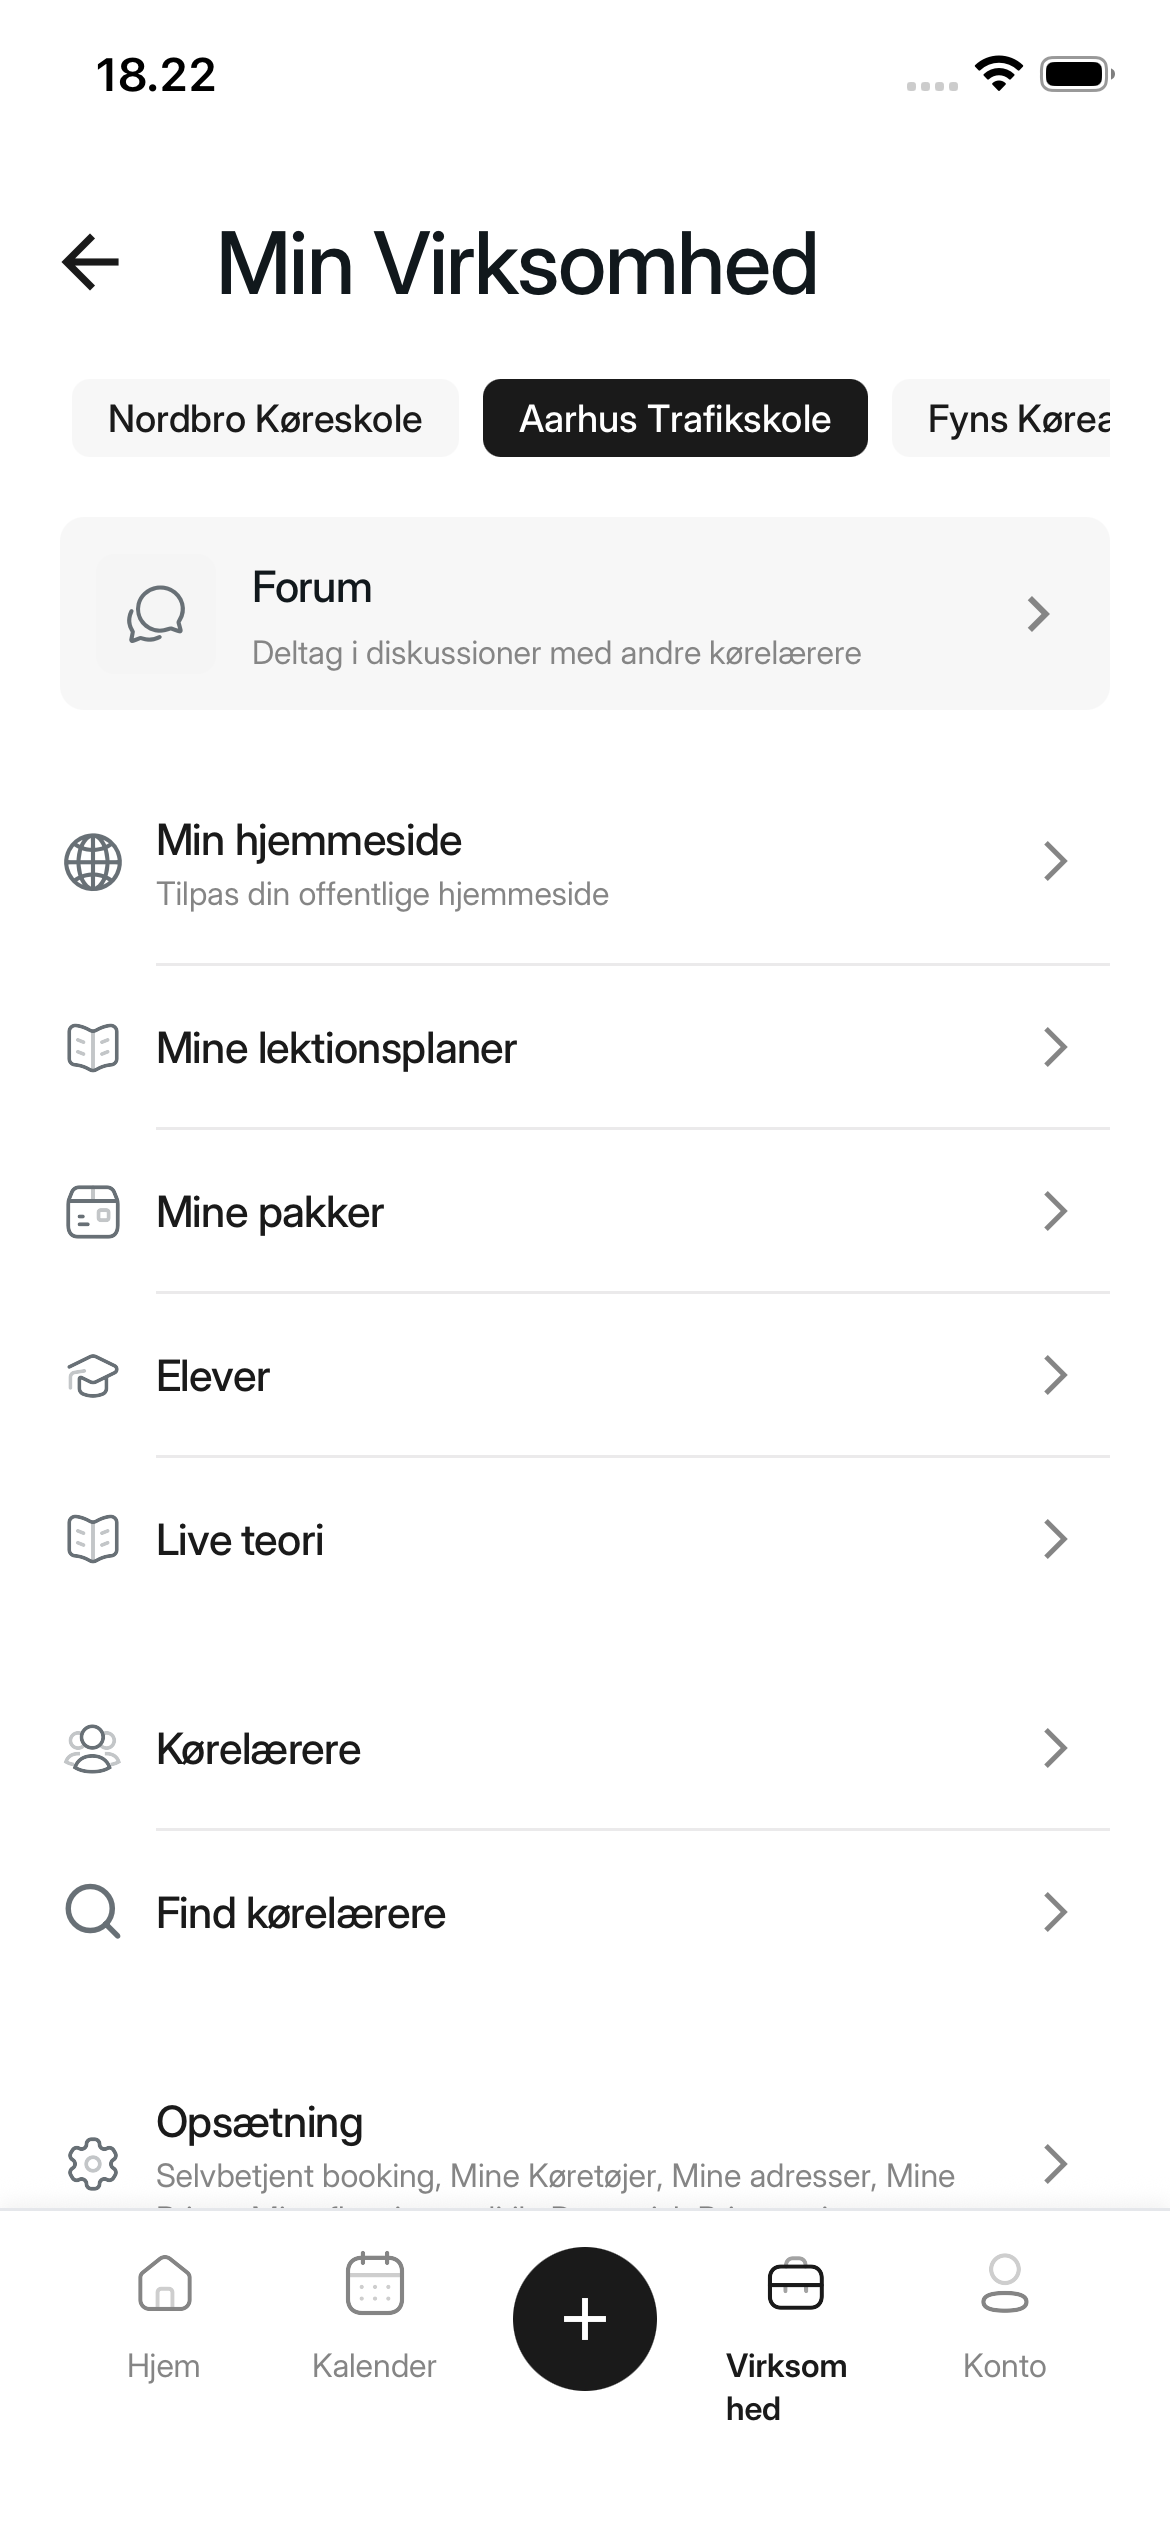
Select Business in the navigation bar. If you belong to several driving schools, first select the correct driving school at the top of the screen. Then select My Packages.
If My Packages is not shown, ask the driving school owner or an administrator for permission to manage packages.
2. Start a new driving package
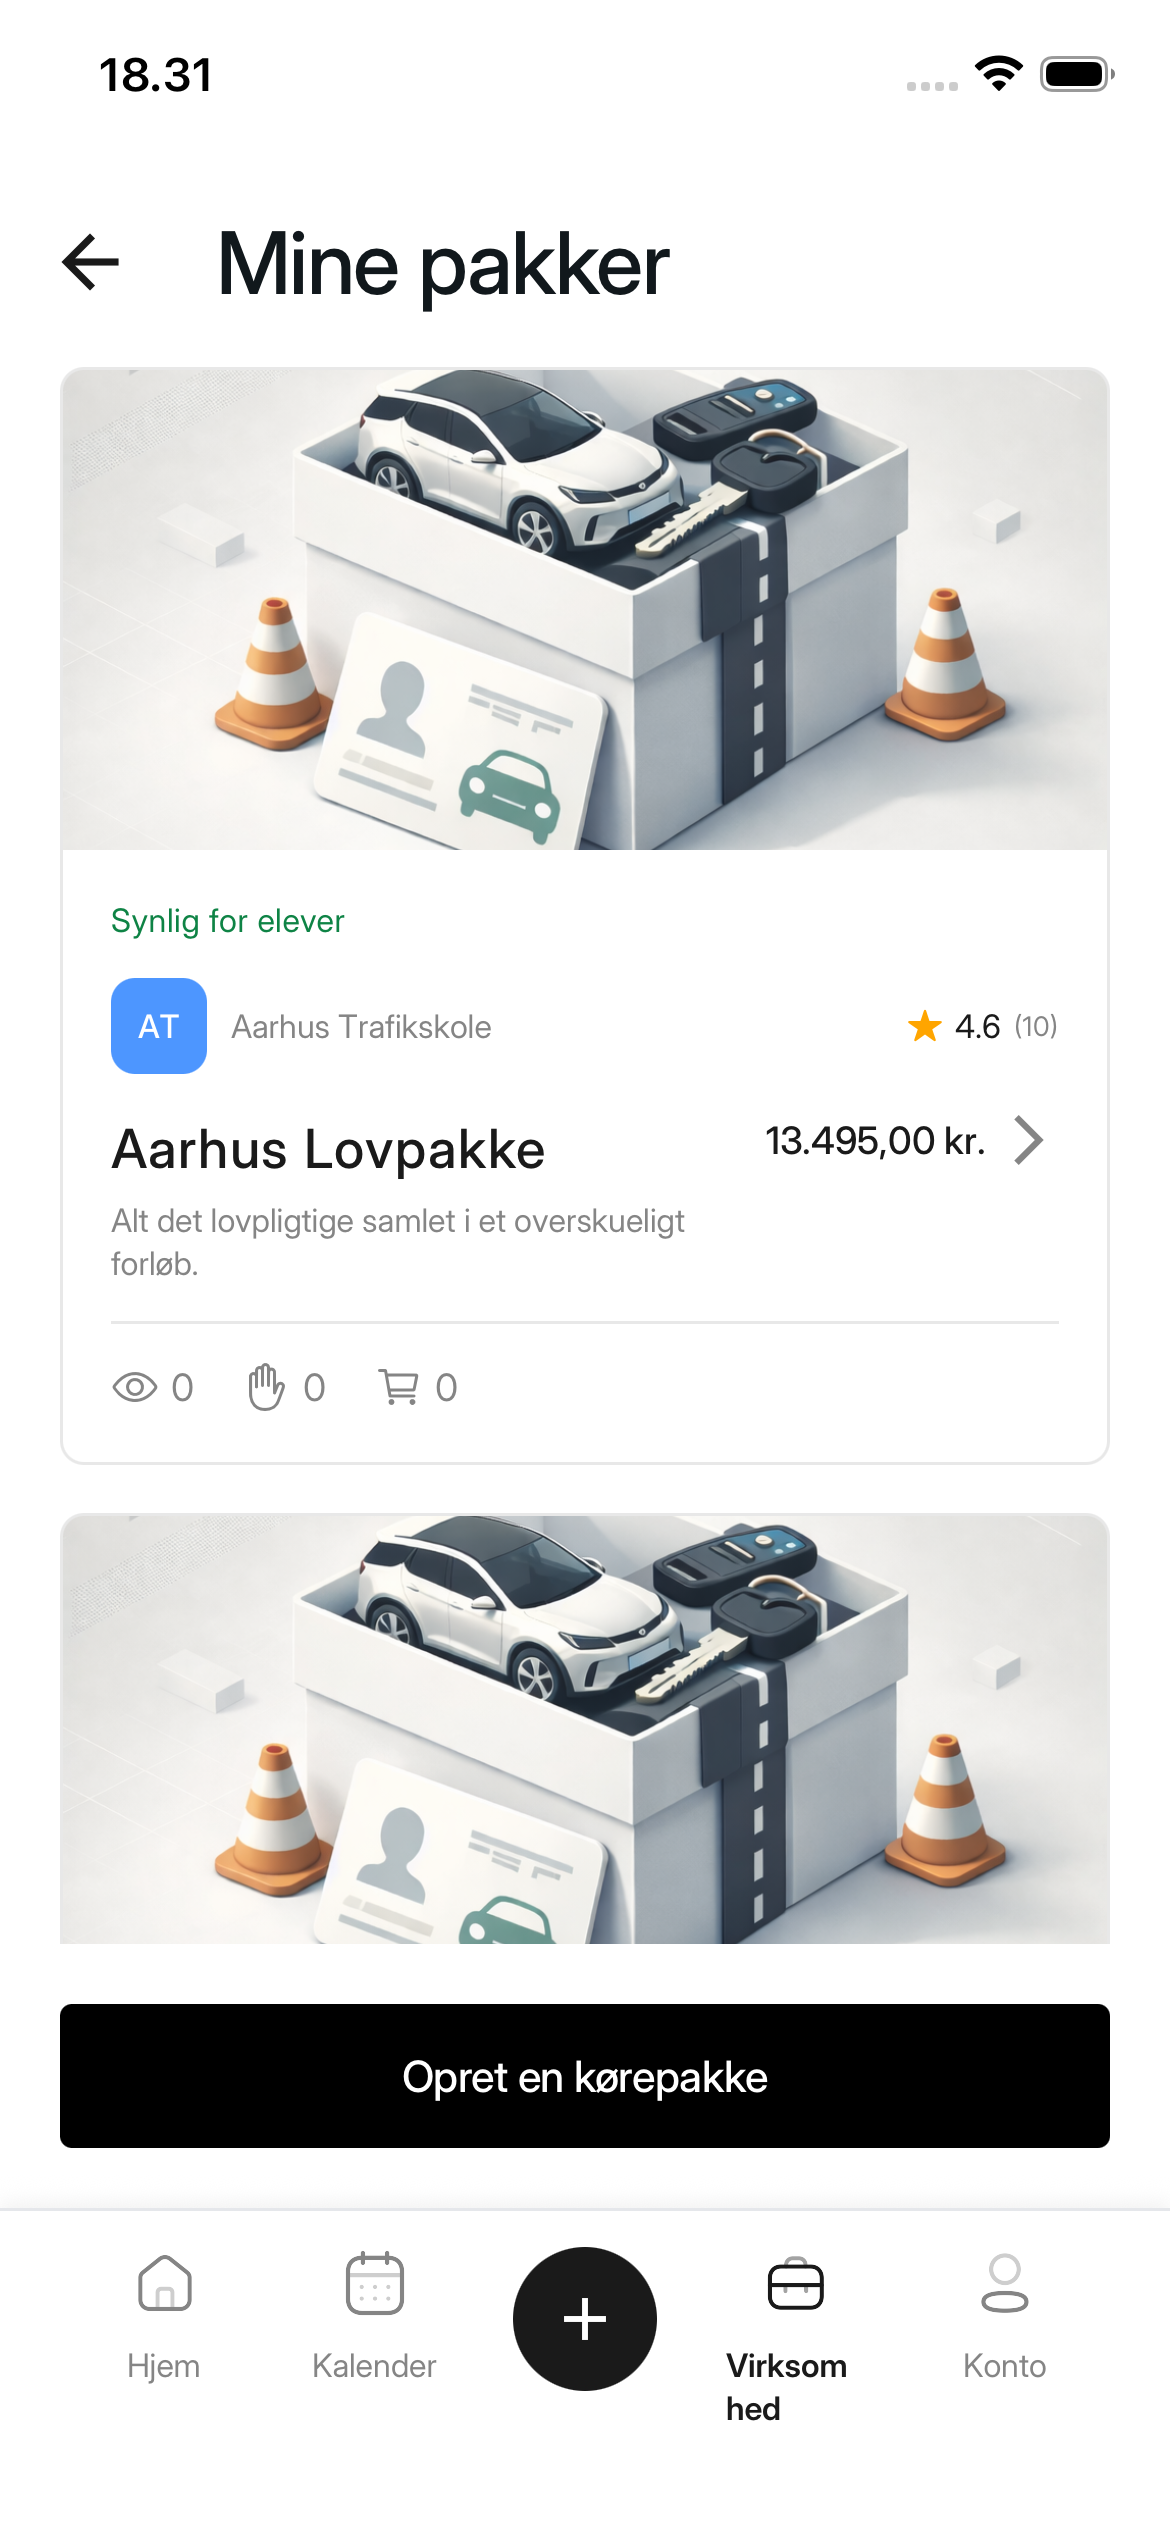
Select Create a driving package at the bottom of the screen.
3. Complete the driving package
Enter a recognisable name under Package name and the full price under Price (DKK). The price includes VAT. Use Package description to briefly explain what the student receives; the description is optional.
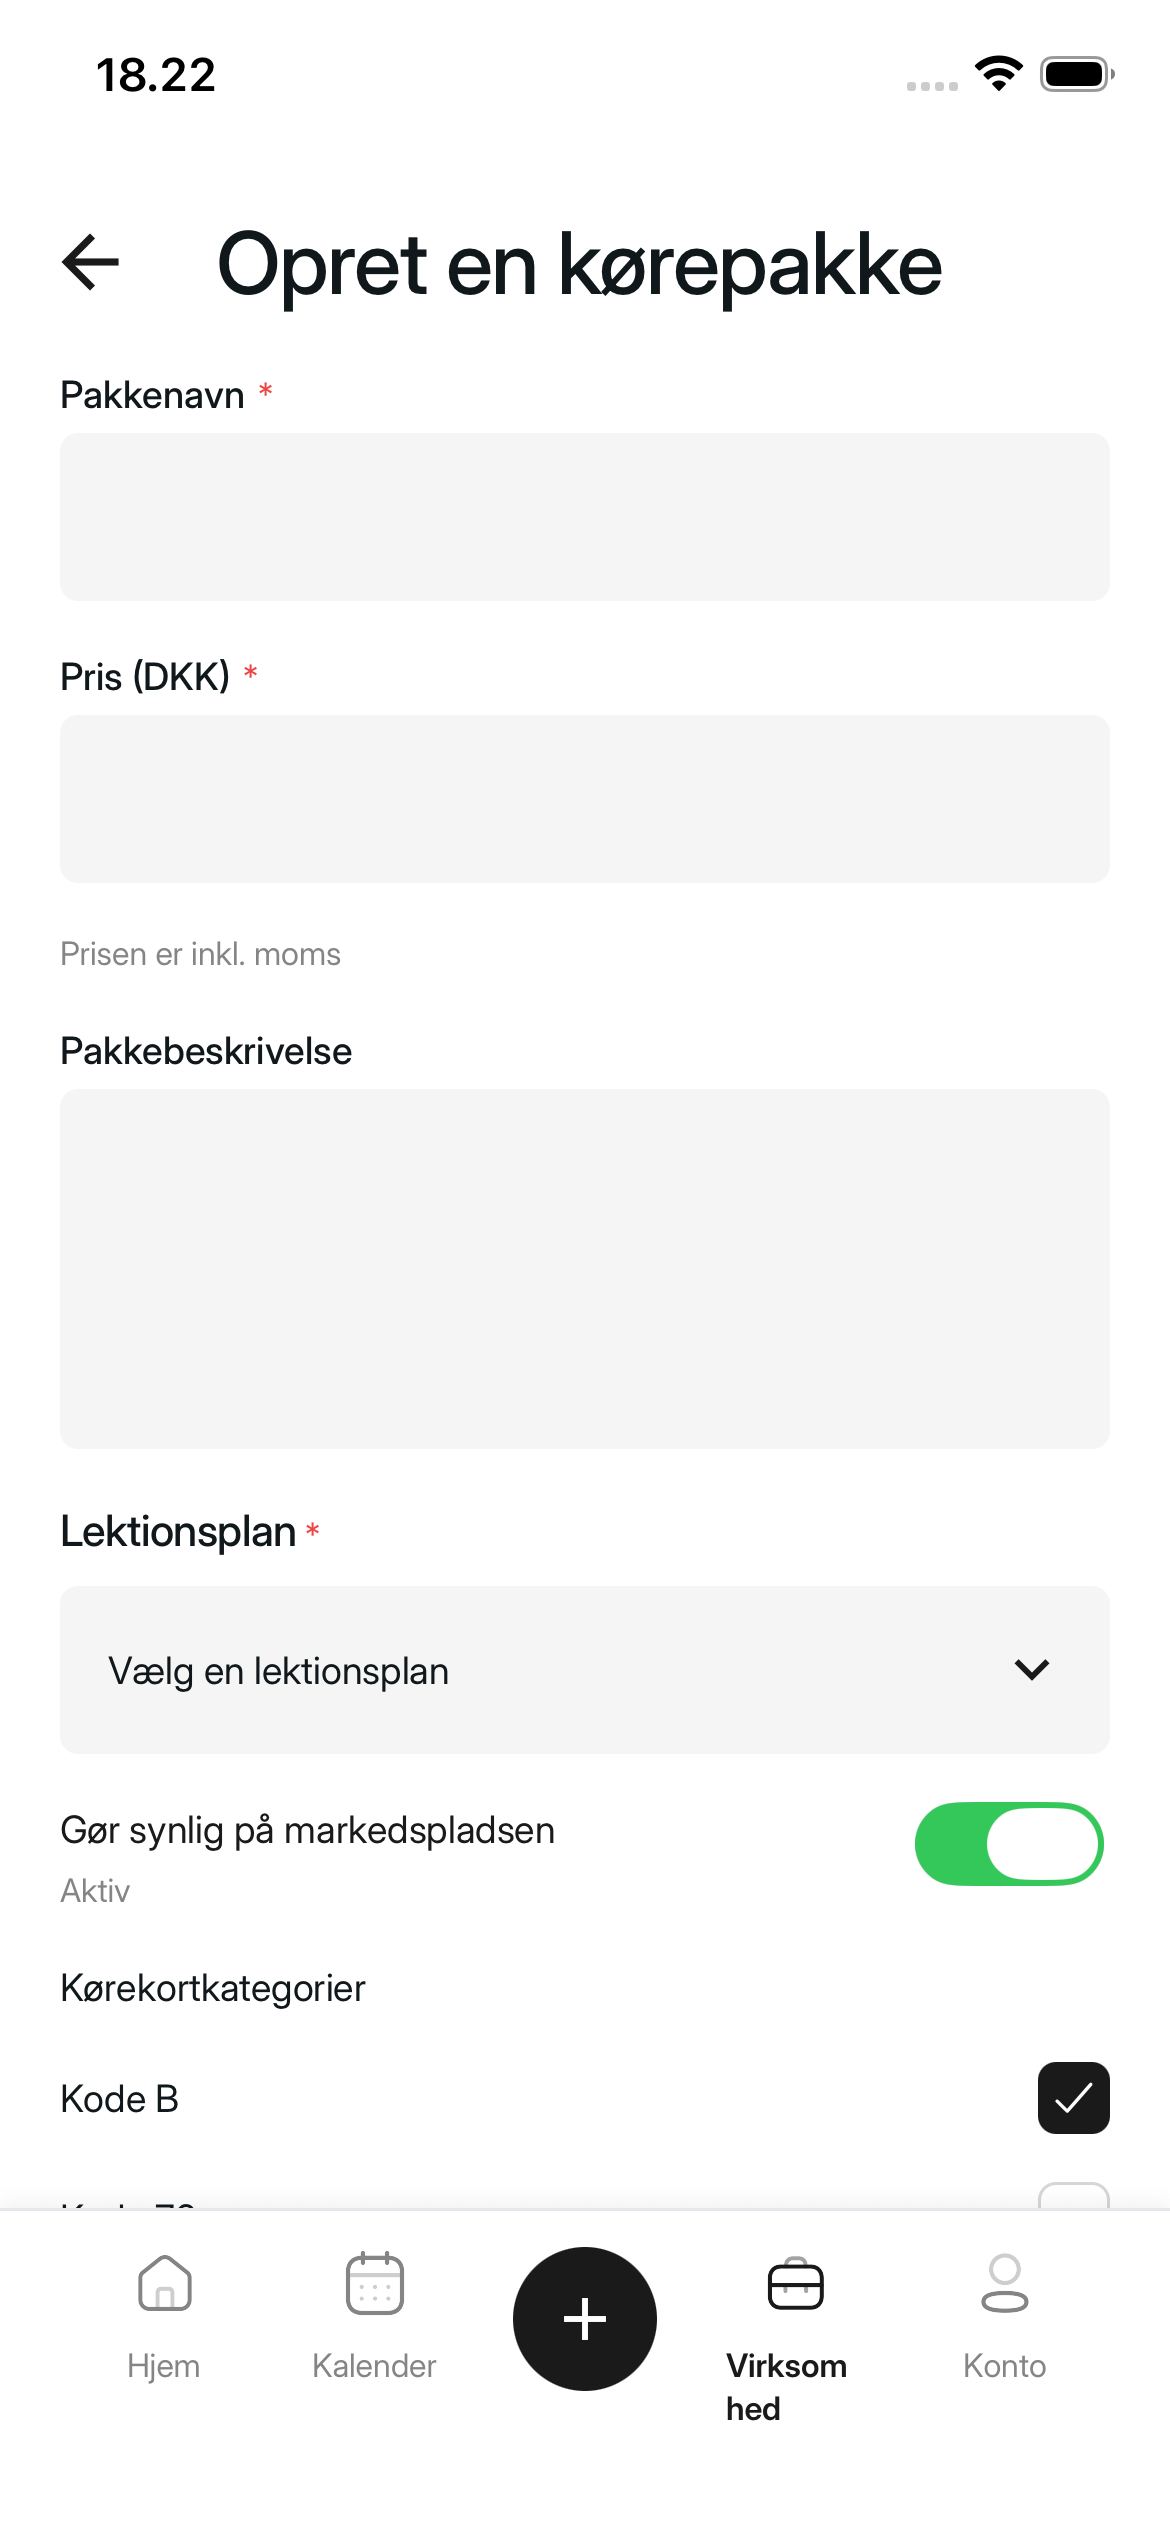
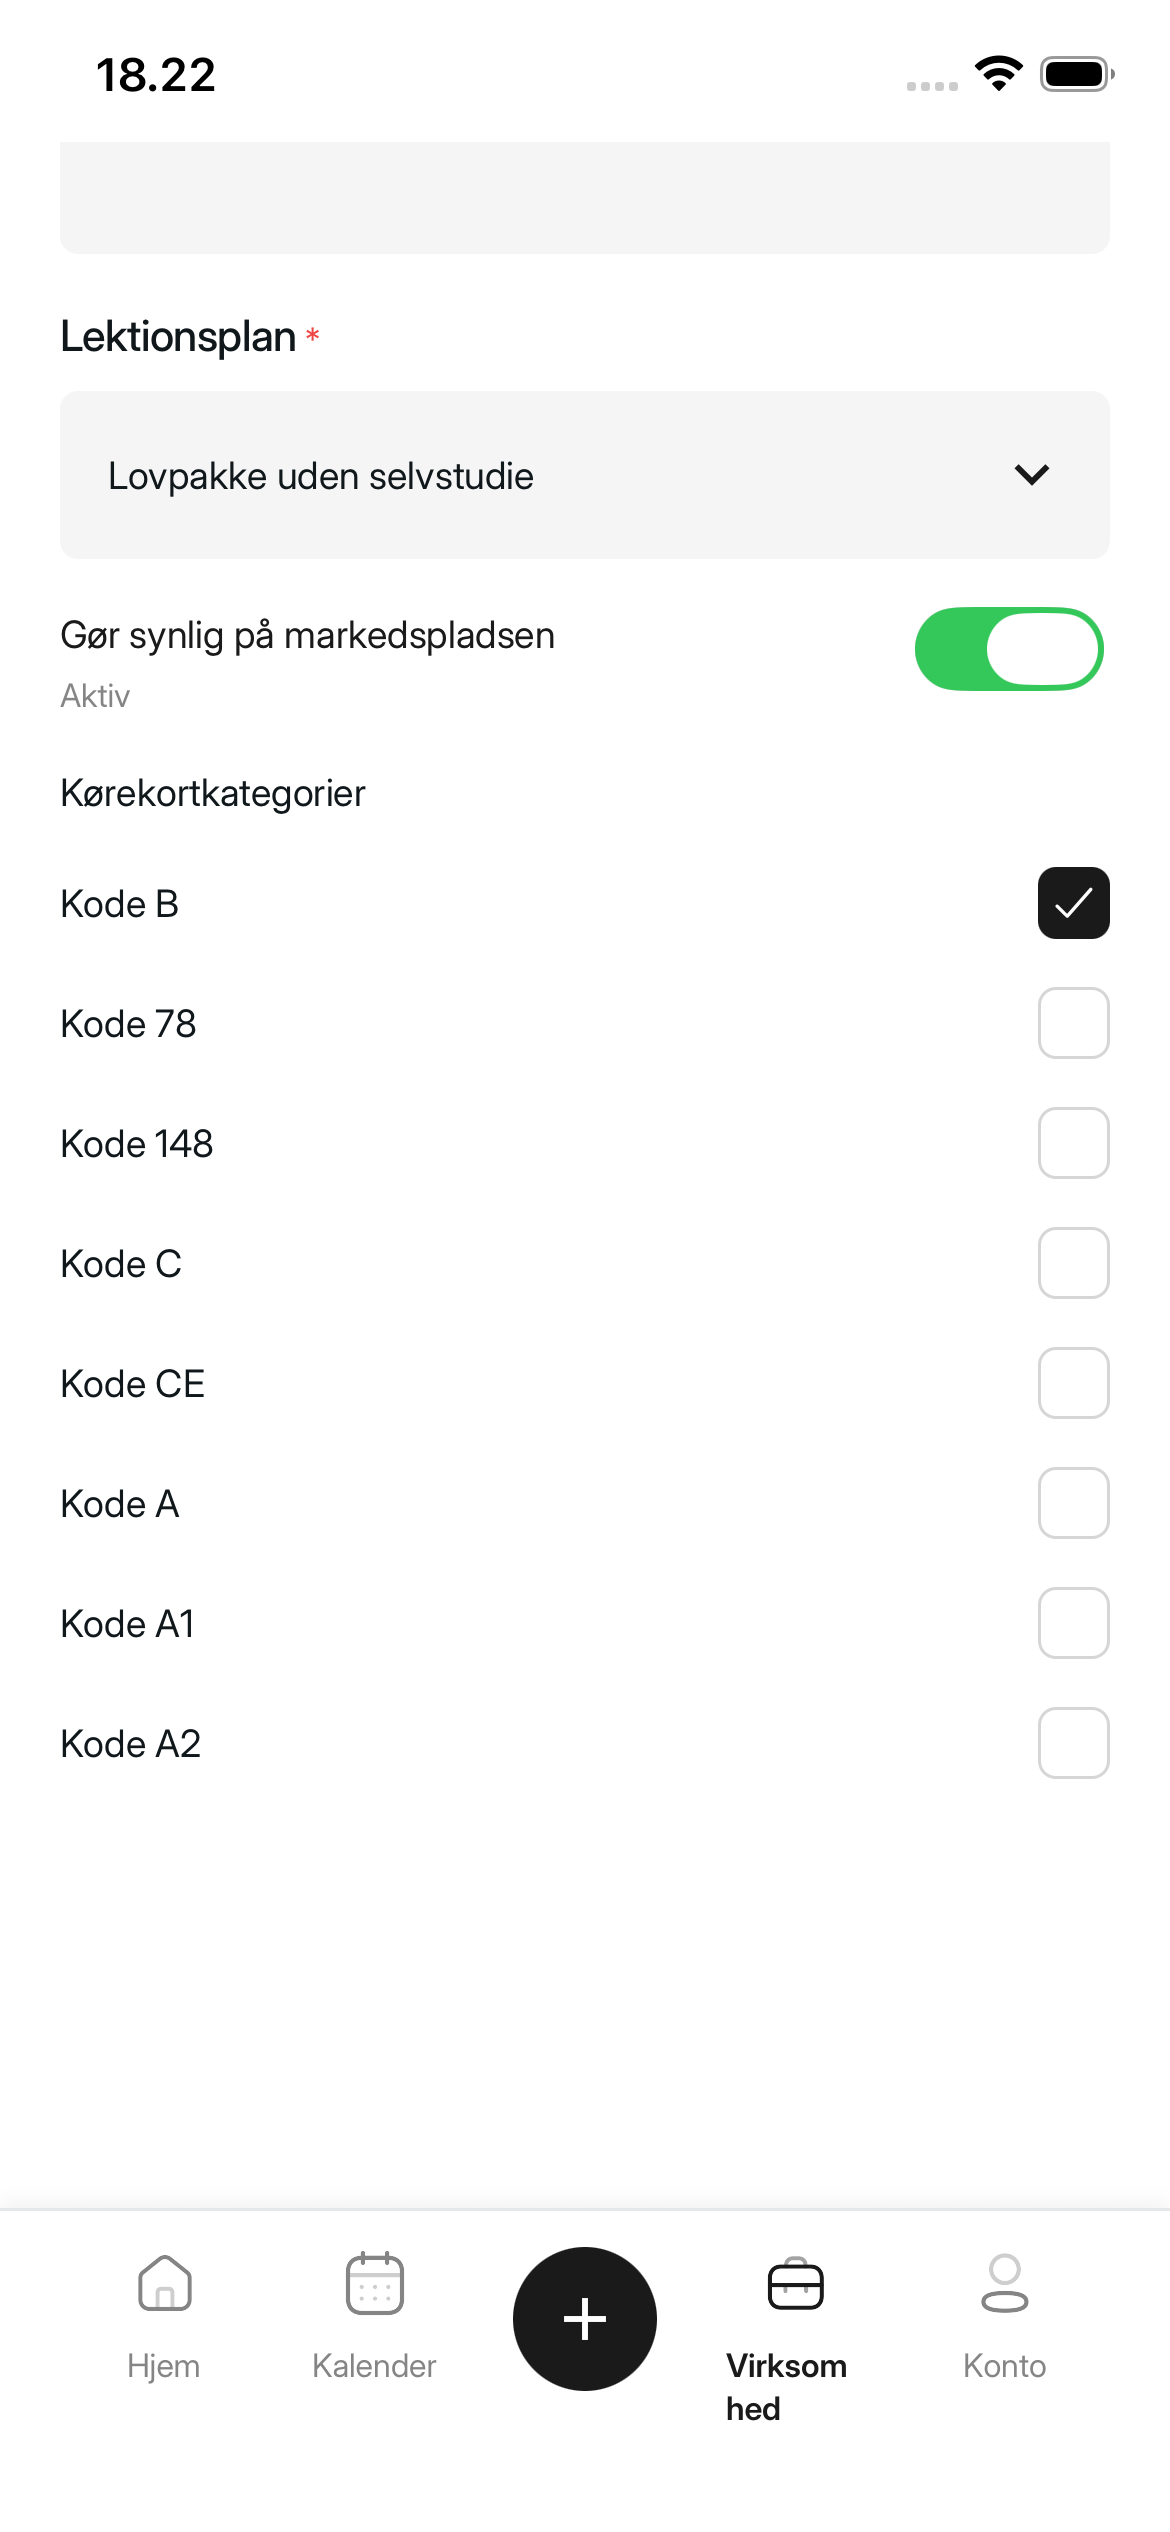
Select Learning plan, then choose the course the package should follow. The learning plan determines which lessons and modules the student sees in the package.
Keep Make visible on the marketplace set to Active if the package should be eligible to appear to new students. Then select at least one option under License codes. Code B is selected by default.
4. Create the driving package
Check the information and select Create a driving package. The app returns to My Packages, where the new package is shown.
Marketplace visibility
On My Packages, each package shows one of two statuses:
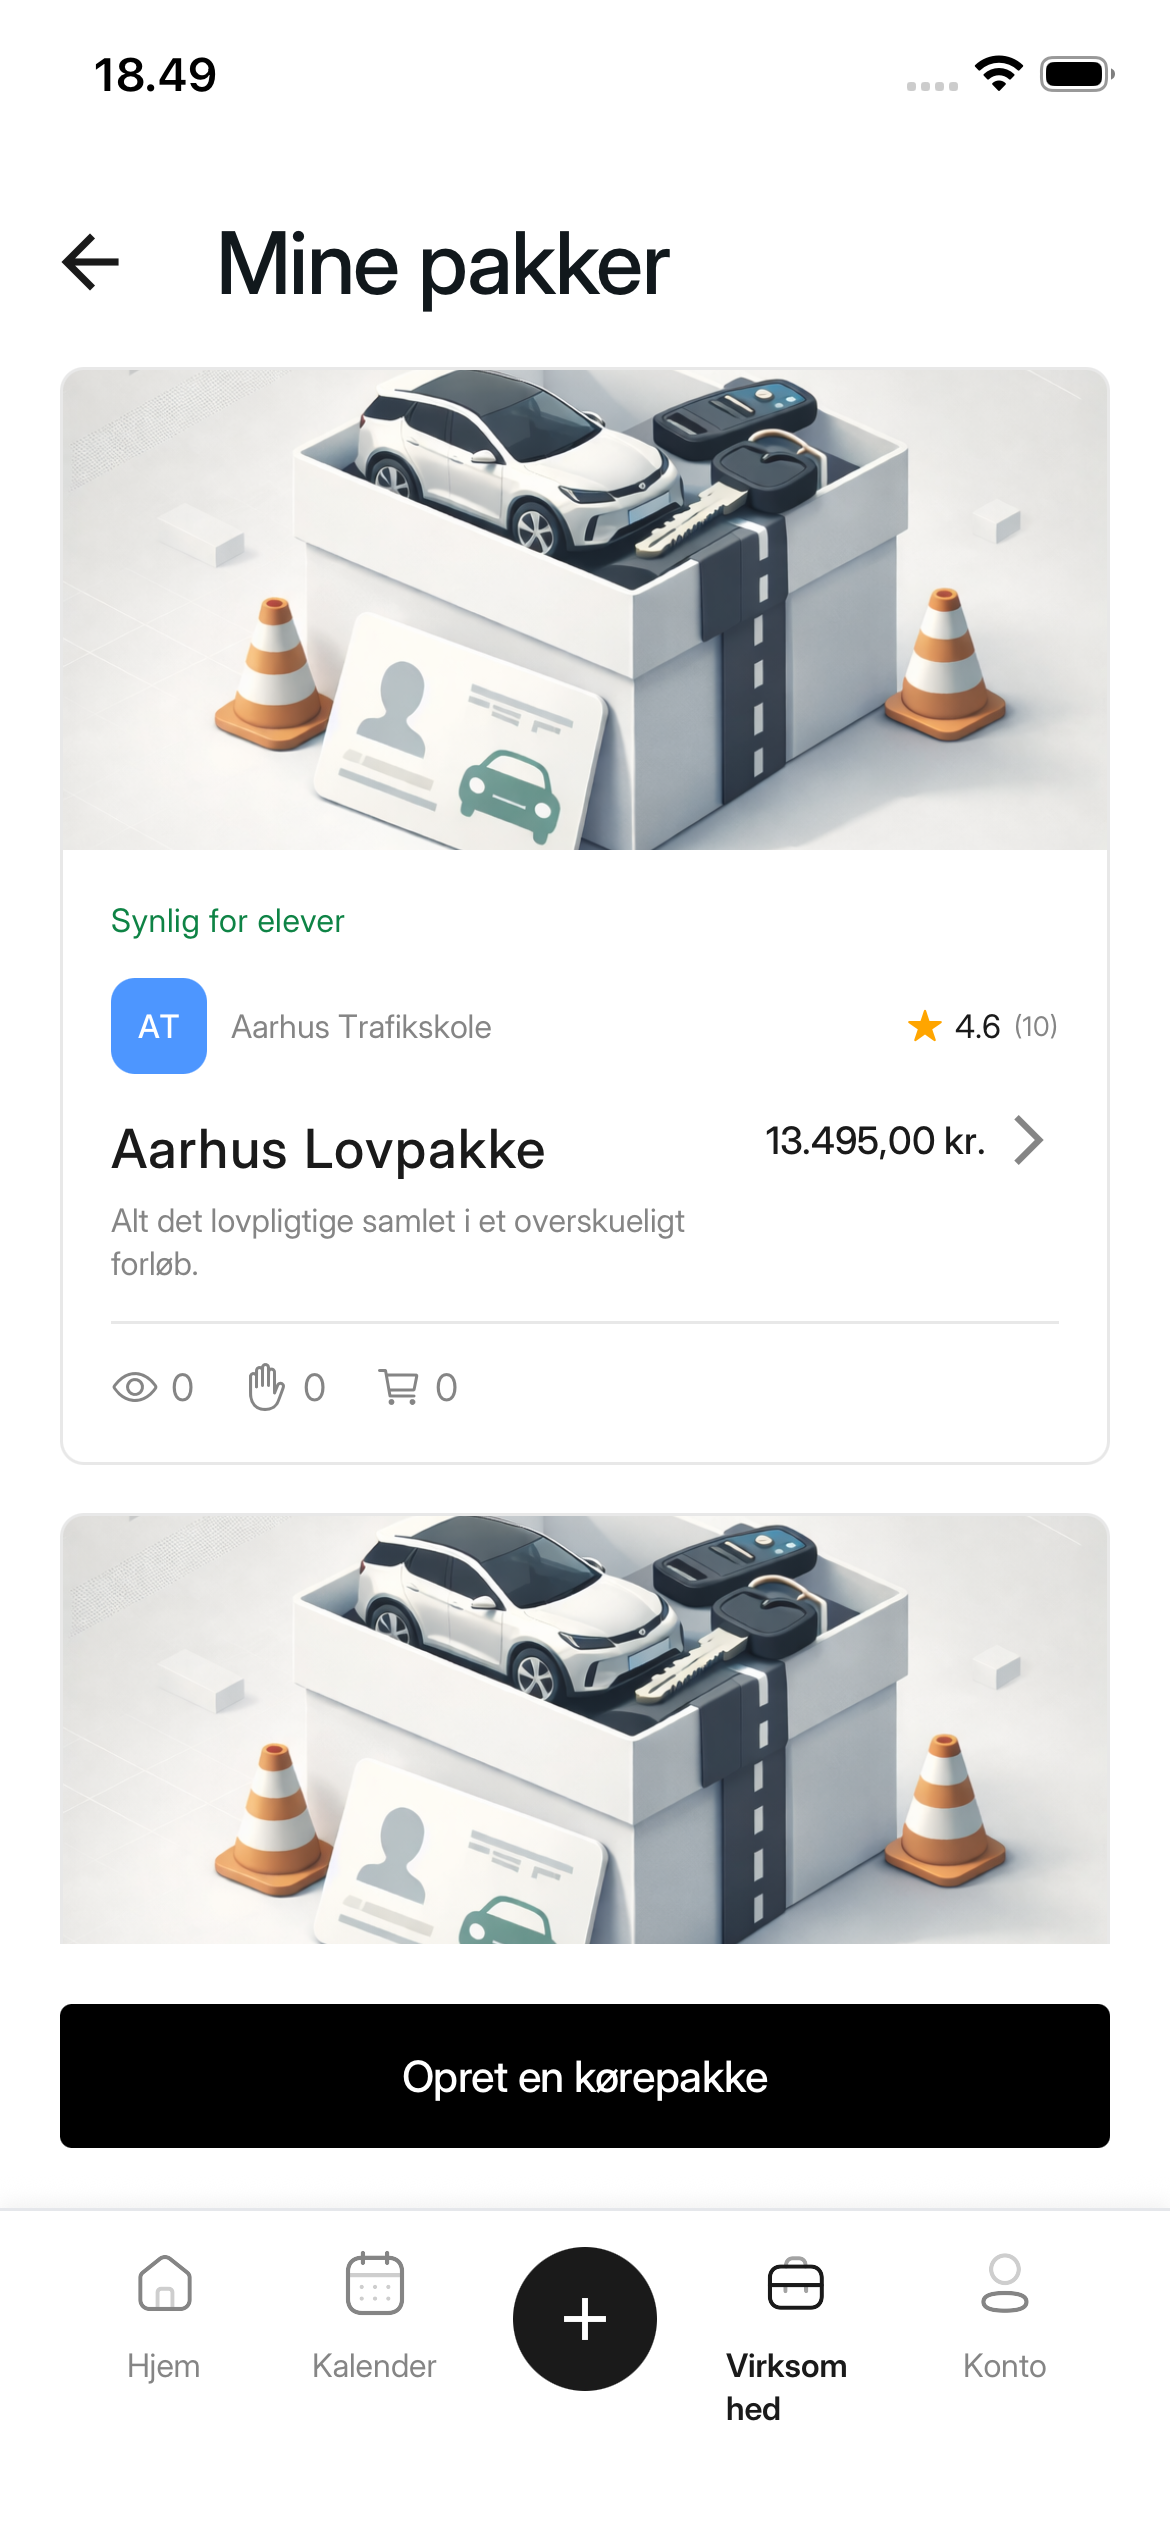
- Visible to students means the package is shown on the marketplace.
- Not visible yet means the package is not shown on the marketplace.
The package receives the Visible to students status when:
- Make visible on the marketplace is active.
- the driving school owner has completed their profile and payment setup.
Was this article helpful?
Finding related articles…